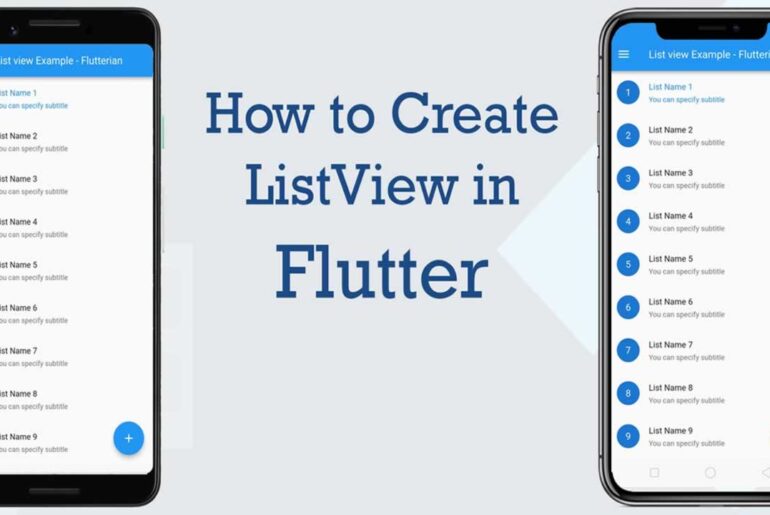
In mobile app development, displaying lists of content is a common task. Flutter provides several widgets to accomplish this, but one of the most flexible and widely used is the ListView widget. In this blog post, we’ll explore how to use the ListView widget to display lists of content in Flutter.
Creating a Simple ListView
The simplest way to create a ListView is to pass a list of items to the ListView.builder constructor. Each item in the list is rendered as a separate widget. Here’s an example:
List<String> items = ['Item 1', 'Item 2', 'Item 3'];

ListView.builder(
  itemCount: items.length,
  itemBuilder: (context, index) {
    return ListTile(
      title: Text(items[index]),
    );
  },
);
In this example, we’re creating a ListView with three items. The ListView.builder constructor takes two arguments: itemCount, which specifies the number of items in the list, and itemBuilder, which specifies how to render each item. The itemBuilder function is called once for each item in the list and should return a widget that represents the item.
In our example, we’re using the ListTile widget to render each item. The ListTile widget provides a title property that we can use to display the item text.
Handling User Interactions
Often, we want to allow users to interact with the items in the ListView. One way to handle this is to wrap each item in a GestureDetector widget and listen for tap events. Here’s an example:
List<String> items = ['Item 1', 'Item 2', 'Item 3'];

ListView.builder(
  itemCount: items.length,
  itemBuilder: (context, index) {
    return GestureDetector(
      onTap: () {
        print('Item $index tapped!');
      },
      child: ListTile(
        title: Text(items[index]),
      ),
    );
  },
);
In this example, we’re wrapping each ListTile in a GestureDetector widget and listening for tap events. When an item is tapped, we print a message to the console indicating which item was tapped.
Adding Separators
By default, the ListView widget doesn’t add any separators between items. However, we can easily add separators by using the Divider widget. Here’s an example:
List<String> items = ['Item 1', 'Item 2', 'Item 3'];

ListView.separated(
  itemCount: items.length,
  separatorBuilder: (context, index) => Divider(),
  itemBuilder: (context, index) {
    return ListTile(
      title: Text(items[index]),
    );
  },
);
In this example, we’re using the ListView.separated constructor instead of the ListView.builder constructor. The separatorBuilder function is called once for each item in the list except for the last one and should return a widget that represents the separator. We’re using the Divider widget to create a horizontal line between items.
Conclusion
The ListView widget is a powerful and flexible widget in Flutter that makes it easy to display lists of content. By using the ListView.builder and ListView.separated constructors, we can customize the appearance of the ListView and handle user interactions. With a little bit of customization, we can create highly polished and functional lists in our Flutter applications.


